Using the Block Editor, your page content is made up of blocks of various types. Each individual bit of content in your page will be a different block. Even individual paragraphs will be separate blocks. The Block Editor provides blocks for all your common content such as paragraphs, headings, ordered and unordered Lists (i.e. bullet points), quotes, images, galleries and any other content that you could previously add using the old Classic Editor.
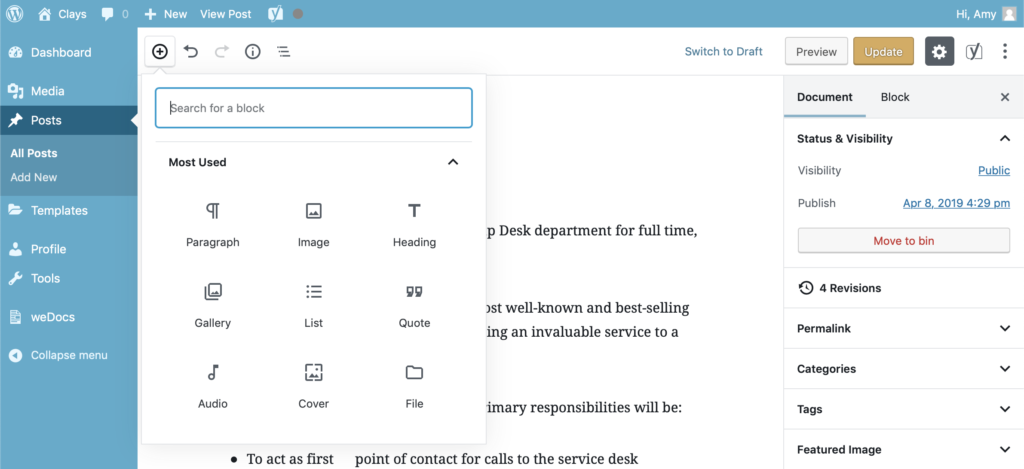
There are several ways to insert blocks into your content. The easiest way is to click the Add block icon (Block Editor Toolbar Add Block) in the Block Toolbar at the top of screen. Clicking this icon will show the Block Inserter popup, which is a small panel that gives you access to all the different types of blocks that you can insert. Simply scroll through the list and click on the type of block that you’d like to insert, or if you know the name of the block, you can start typing its name in the search field to filter the list of blocks shown.
The list of blocks in the popup panel are sorted into different sections based on their type, and you can show/hide each section by clicking the small arrow icon next to each section title. Once you click on a block to insert it, if there are no blocks on the page that are selected then the new block will be appended to the bottom of your content, below all the existing blocks in the page. If you have a block selected in your page when you insert a new block, the new block will be inserted below your currently selected block.

You can also insert blocks by clicking the Add block icon (Block Toolbar Add Block) that appears at the top of each individual block. This Add Block icon appears at the top of each block when you move your cursor over the top border of each block. Clicking this icon will show the Block Inserter popup, which is a small panel that gives you access to all the different types of blocks that you can insert. Simply scroll through the list and click on the type of block that you’d like to insert, or if you know the name of the block, you can start typing its name in the search field to filter the list of blocks shown. The list of blocks in the popup panel are sorted into different sections based on their type, and you can show/hide each section by clicking the small arrow icon next to each section title. Once you click on a block to insert it, the new block will be inserted above the currently selected block.

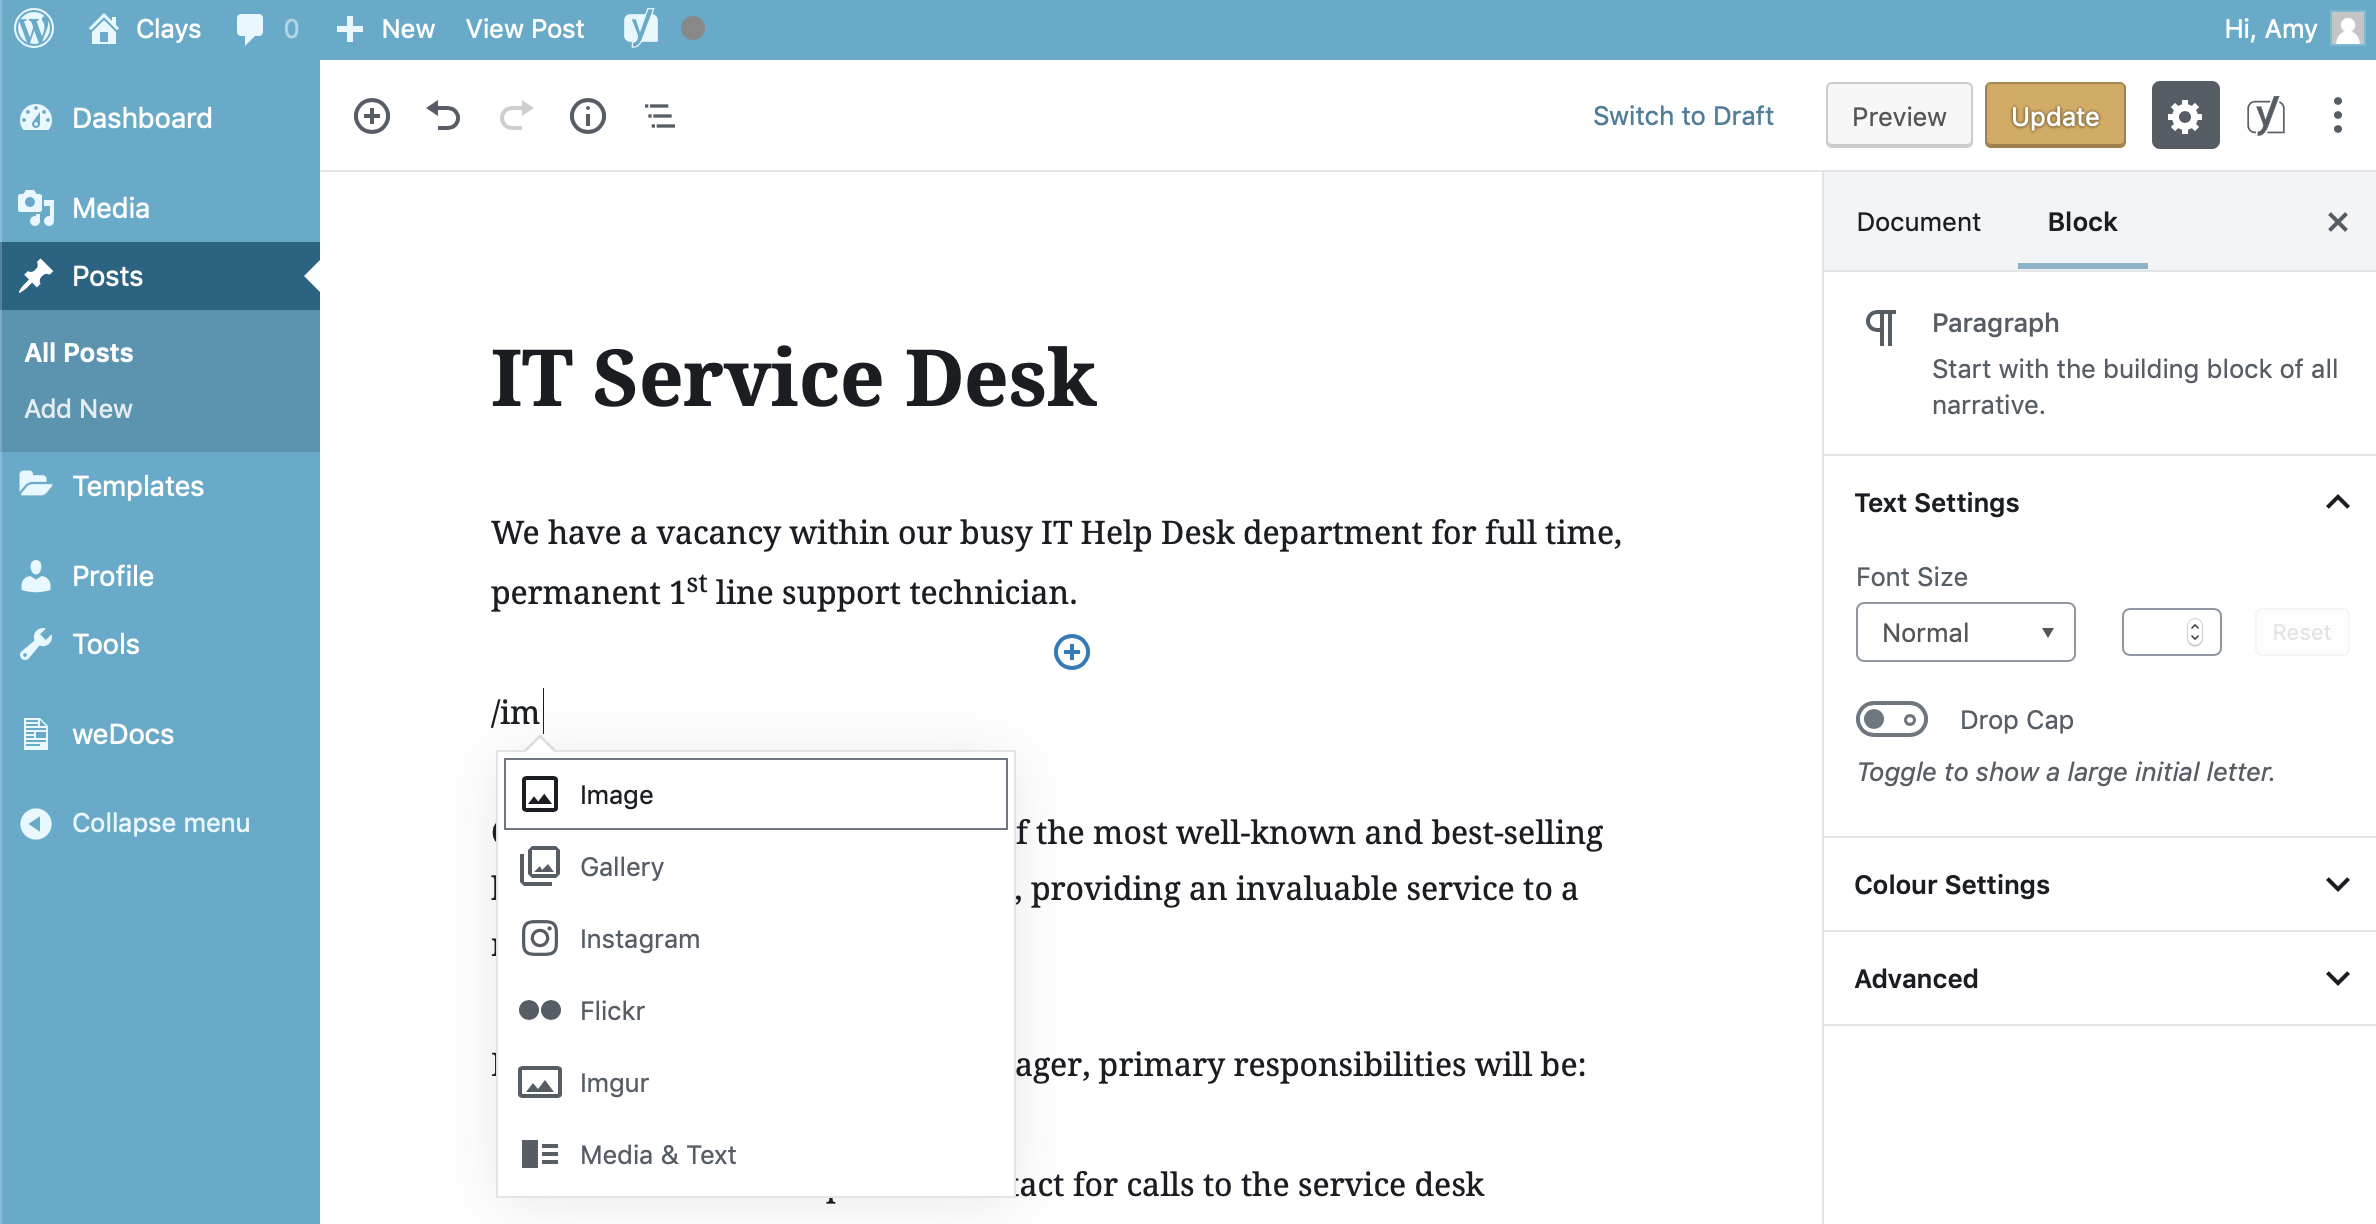
You can also insert a block using what’s called the ‘slash command’. When your cursor is sitting in an empty Paragraph Block, you can convert that block to another type of block by typing a forward slash (/) and then the name of the block. As you type more characters, the list of blocks being displayed will filter down based on what you’ve typed. For example, typing ‘/im’ will show you a list of blocks that either start with, or are related to images, such as the Image Block, Gallery Block, Media & Text Block etc… If there’s more than one block showing, you can either type more characters to filter the list further until there’s only one option, or your can use your cursor keys to select the one you want and hit Return/Enter to select it, or simply use your mouse to select the block from the list.

You can also insert a new block using the Add block icon below your content. If the last block in your content isn’t a Paragraph Block, then you will see an empty Paragraph Block at the very bottom of your content.
It’s important to note that if the last block in your content is a Paragraph Block, then this empty Paragraph Block at the bottom of your content, wont appear by default and you’ll need to either hit your Return/Enter key in your last Block for the empty Paragraph Block to appear, or use one of the other methods mentioned here to insert a new block.
If you see an empty Paragraph Block at the very bottom of your content and you simply want to add a new paragraph of text, then all you need to do is put your cursor in the empty block and start typing. If you want any other type of block though, you need to click the Add block icon (Block Editor Toolbar Add Block) on the left-hand side of the empty Paragraph Block. Clicking this icon will show the Block Inserter popup, which is a small panel that gives you access to all the different types of blocks that you can insert. Scroll through the list and click on the type of block that you’d like to convert this paragraph block to, or if you know the name of the block, you can start typing its name in the search field to filter the list of blocks shown. The list of blocks in the popup panel are sorted into different sections based on their type, and you can show/hide each section by clicking the small arrow icon next to each section title. Once you click on a block to insert it, it will convert this empty Paragraph Block to the new block that you selected.

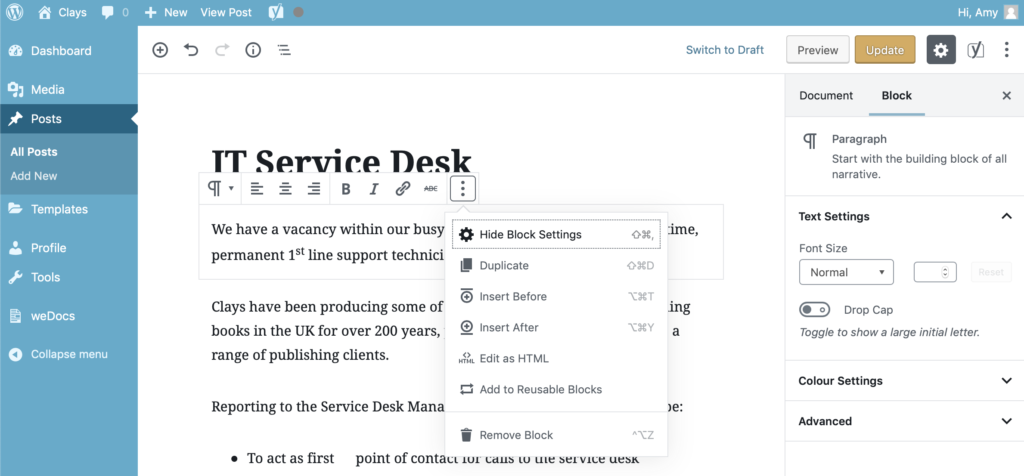
Lastly, every block has its own toolbar menu that appears at the top of the block (or at the top of the screen if the Top Toolbar option is turned on). The More options icon on this toolbar (Block Toolbar More Options) has two options for inserting blocks, Insert Before and Insert After. Selecting either of those options inserts an empty Paragraph Block either above or below the current block respectively. As described above, you can then either simply type in this empty block if want to add a new paragraph of text, or you can convert this empty Paragraph Block to another type of block by clicking the Add block icon on the left of the block, as described above.
